I always make my own biscuit mix and until now, I have used shortening for the fat content. After all, that's what gives biscuits that flaky texture. Then I found out that you can make your own lard, by rendering down pig fat. I have heard that lard makes the best baked goods including pie crusts and biscuits. Lard is available in a plastic tub off the shelf from my local grocery store, but everything I have read says that if you don't have to refrigerate it, it's no good. It is filled with preservatives and other oils. So I began looking for pig fat and quickly found out that it's not that easy to find. Just recently, I discovered a slaughter house about 30 minutes away and spoke with a really nice gentleman who made me a deal.


This is after cutting it up. It's best to cut it into small pieces because it will render more liquid. This is the hardest part, because you need a really sharp knife to cut it. Some people are able to get the butcher to run it through the grinder for them. That's probably a really good idea, but I didn't know to ask at the time and it was frozen so I didn't want to trouble anyone. One good thing about cutting it myself is that I was able to discard of any remnants of meat that may have been left. If you render the meat along with the fat, it may tend to add some flavor to the lard and it might not be good for pastries or bread. If you are just going to use it for frying or adding to savory dishes, a little meat is probably fine to leave in.

The fat cannot burn while it's rendering. That will also add flavor and I don't want that. The best way is to cook it slooooow. I decided to use this electric skillet. Since it has a thermostat, I don't have to worry about it getting too hot. I also added about 1 cup of water before adding the fat. This kept the fat from heating too quickly and potentially burning at the start. I really wasn't sure at what temperature to set, so I averaged around 225 degrees. I think this worked pretty well, because it did cook very slowly. Maybe too slow, I'm not sure.

This is the fat at the beginning in the water.


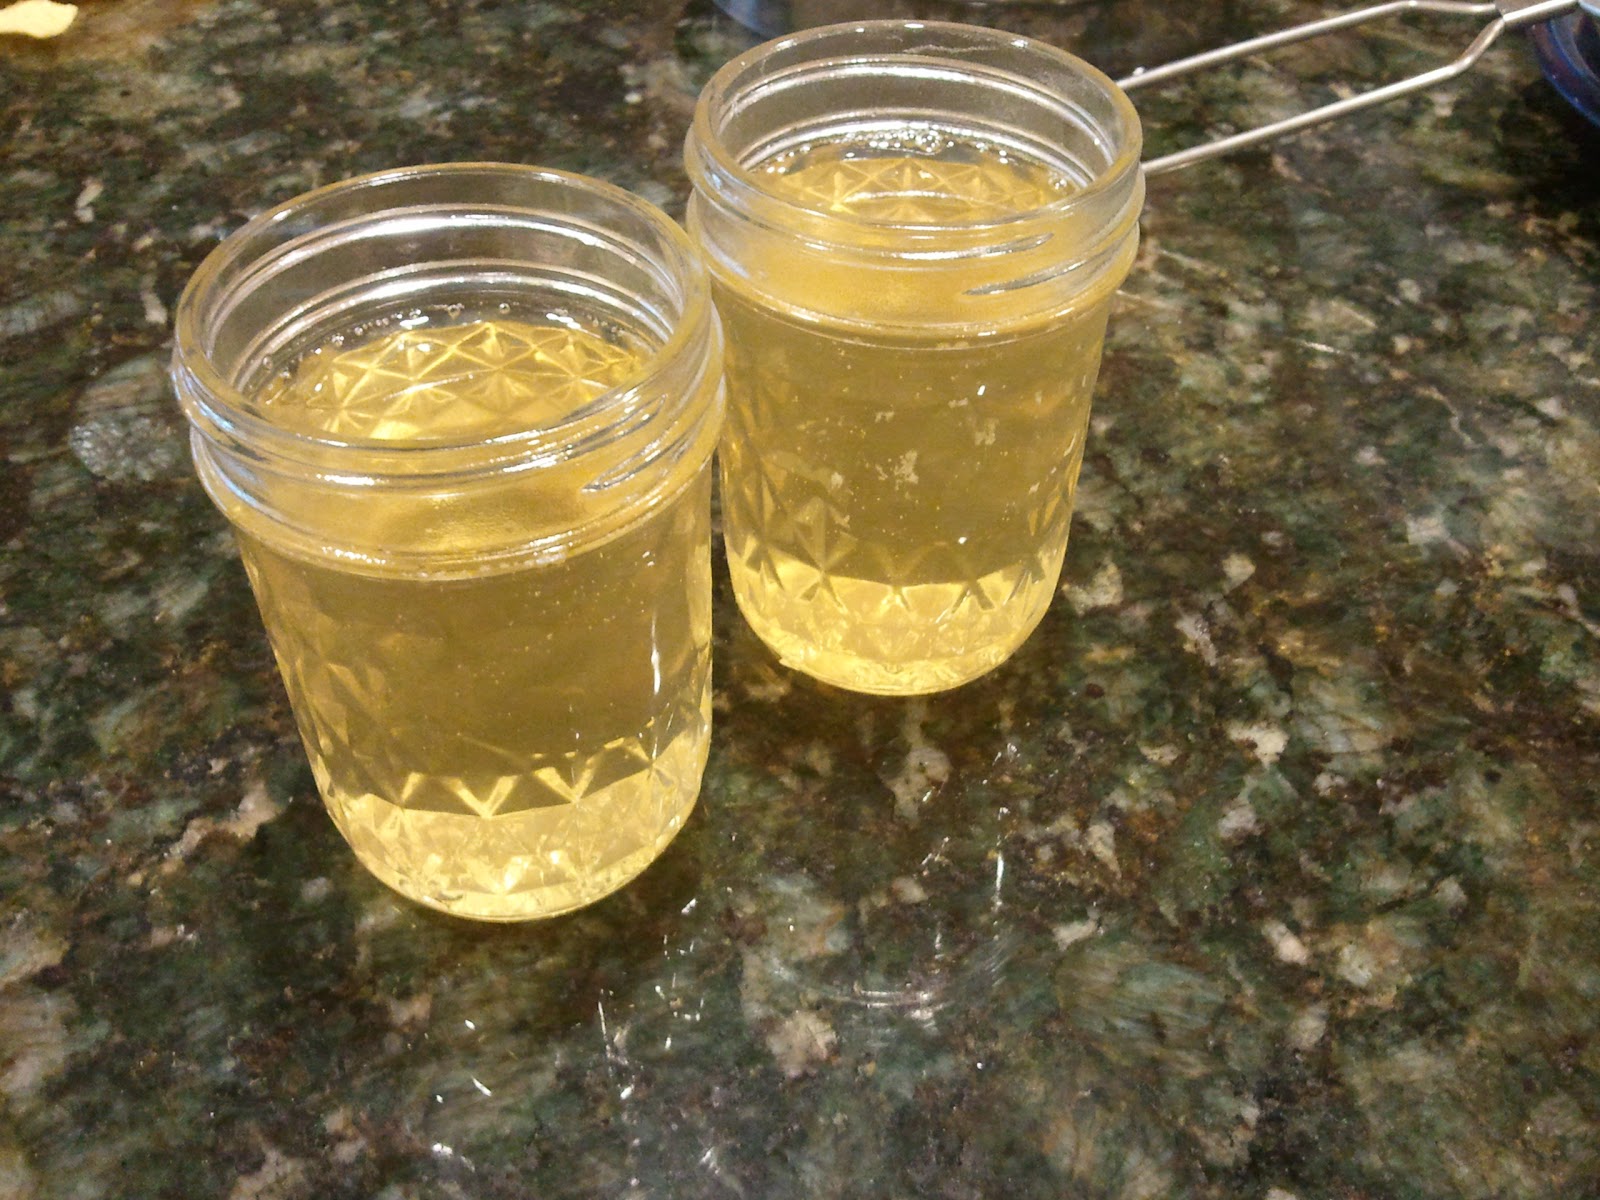
I decided to use small jars, a canning funnel, a fine metal sieve and a couple of sheets of cheese cloth. I simply tipped the skillet and spooned the fat and liquid into the jars. Even though the fat was not completely finished, I collected the liquid. Once the fat drained, I returned it to continue melting. I will then use that liquid for frying and flavoring. The longer the fat cooks the more flavor it adds to the rendered lard.


Final thoughts: This is a long process. I will do it again and you really don't have to babysit too much. Is it worth it? I think so. After spending so much time on it though, these are really more valuable in my mind than you average can of Crisco. If the saying "time is money" is true, then these are really expensive. I will try them in my next batch of biscuits and that will really tell me whether they were worth the effort.
Presto 06852 16-Inch Electric Skillet with Glass Cover
No comments:
Post a Comment